
The Lock function works only with the Actual schedules.
Use Lock for accounting when an Actual schedule must be confirmed before its data is transferred to an accounting or payroll system.
Locking the schedule prevents accidental changes after working hours have been reviewed and approved for salary calculation.
## When should I use this functionality?
- When the Actual schedule has been reviewed and is ready for payroll.
- When your organization requires schedule confirmation before transferring data to a payroll system.
- When completed schedule dates must no longer be changed by site managers.
## How do I lock the schedule?
1. Open Schedules.
2. Select the required schedule period.
3. Switch to the Actual schedule.
4. Click the padlock icon — Lock for accounting.
The padlock icon is located next to the schedule type selector, as shown in the screenshot.

5. In the Lock schedule for accounting window, select the Locked through date.
You can also use one of the quick options:
- Through today
- Through this week
- Through last week
- Whole period
6. Check the selected date range.
7. Type LOCK in the confirmation field.
8. Click Lock through date.
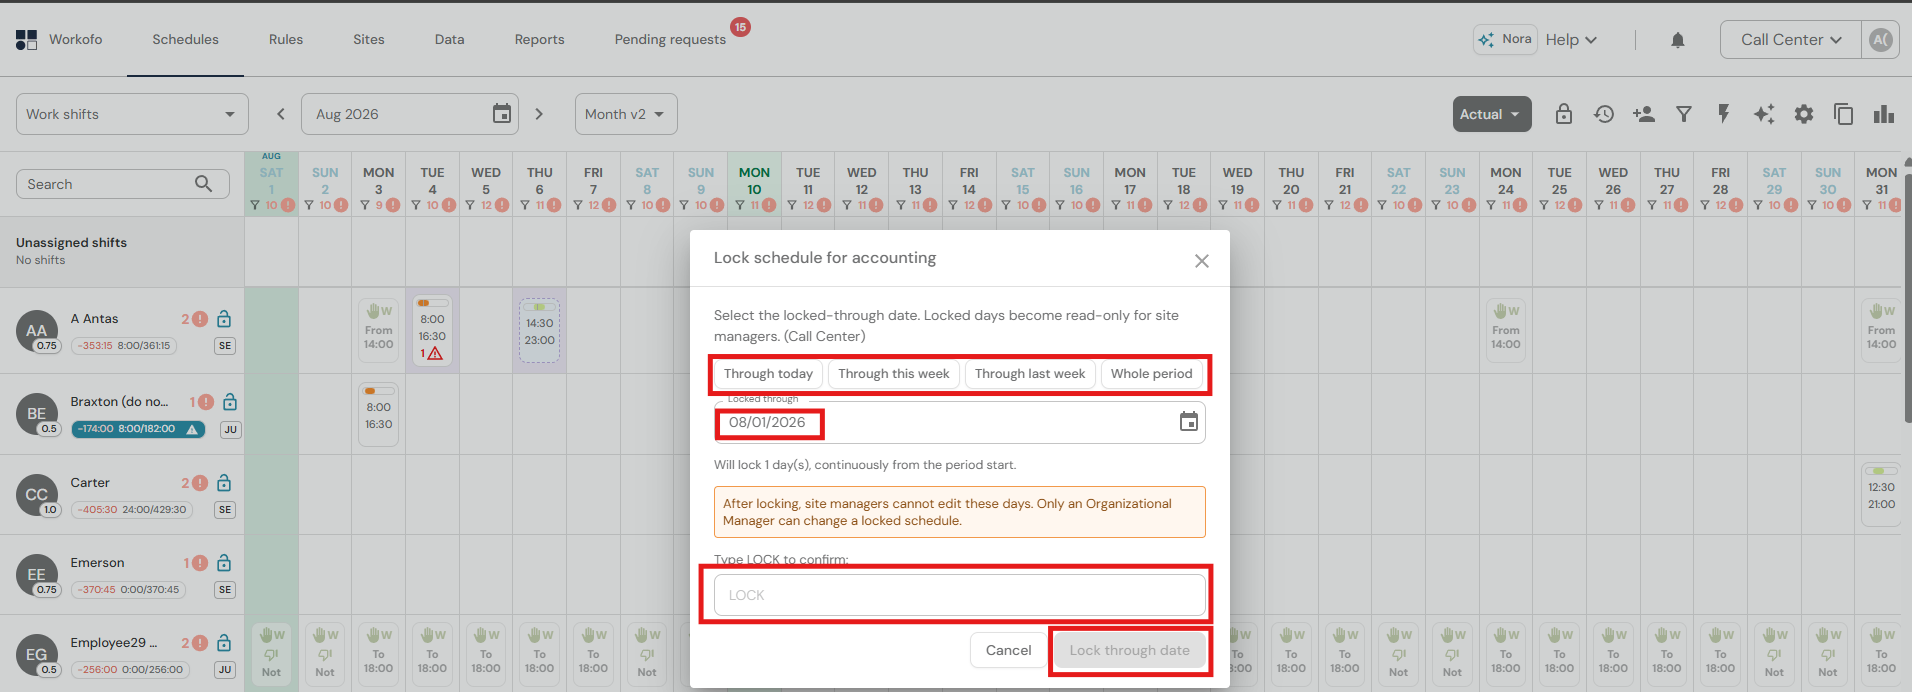
The schedule will be locked continuously from the beginning of the period through the selected date.
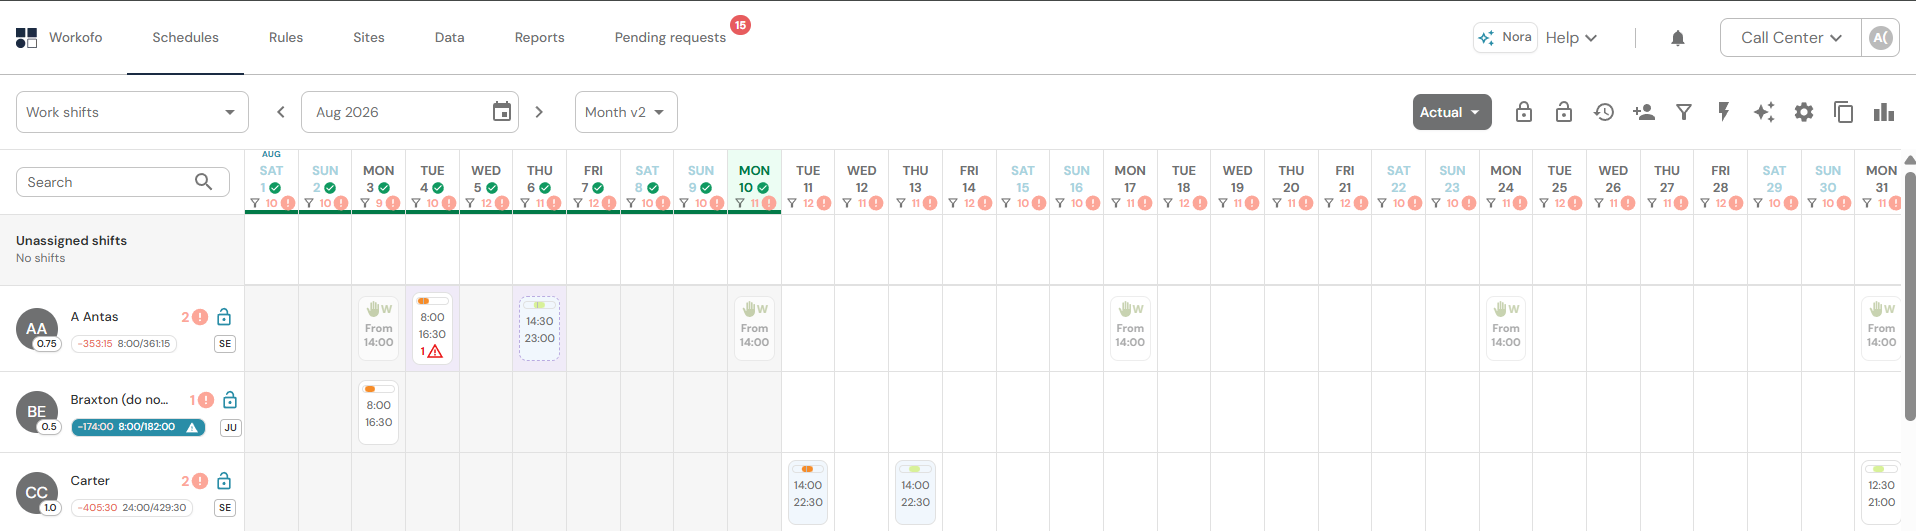
After locking, site managers cannot edit the locked dates. Only an Organizational Manager can unlock or make changes to the locked schedule.